Wondering how to organize your home or office?
Are you looking for some step-by-step instruction to help bring order to your space?
Learning how to organize items is a skill, just like anything else in life.
Whether you’re organizing your closet, kitchen cabinet, or paper files, the organization process remains the same.
And that’s a good thing, because it means you always have plenty of opportunities to practice and hone your skills.
As they say, practice makes perfect! 🙂
In this post, you’ll find a step-by-step guide on how to organize pretty much anything.
If you consistently follow these steps, each and every time, you’ll bring more order to your living and work spaces.
So, what are the steps when it comes to organizing items?
It all has to do with a simple three-step process.
Are you ready to begin? Let’s get started!
How to Organize: A Step-By-Step Guide
Identify a collection of items to organize.
The first step in organizing items is to identify a collection of items to organize.
This point may sound rather simple and hard to believe, but it really is as simple as that. Honest!
You have to make a solid decision about the collection of items you want to organize, right here, right now.
As unbelievably simple as this point is, you’d be amazed at how many people try to skip to the next step (we’ll get to that in just a minute).
And in case you were wondering, vague, general, or weak decisions won’t do you any good.
You have to be explicitly specific when it comes to what you’re going to organize.
The more specific you can be, the easier it will be for you to organize those items.
Why? Because you’ve made it perfectly clear as to what it is you’re going to work on.
General statements such as, “I’m going to organize my office,” or “I’m going to organize my room,” are a good start. However, you’ll want to dig even deeper.
What specifically are you going to organize? Which items are will you pick up with your hands, sort, and store?
Let’s take a moment to go through some general statements and turn them into more specific ones:
- “I’m going to organize my office” becomes “I’m going to organize the stack of papers on my desk.”
- “I’m going to organize my kitchen” becomes “I’m going to organize the cabinet near the refrigerator.”
- “I’m going to organize my room” becomes “I’m going to organize the clothes in my clothes closet.”
Can you see the enormous difference between the two types of statements?
The general statements are much too vague and overwhelming, while the specific statements make it crystal clear as to what it is you’ll be organizing.
What’s more, the specific statements make tasks seem that much more doable because…well, they are doable!
You’re not organizing an entire office, you’re just organizing some papers in the office. Phew!
And what if you have elaborate plans for organizing a particular room, or even your entire home or office? No problem!
Start small. Choose a single collection of things to organize, and then organize it.
Then, once you’re finished with that organizing project, you can move onto your next organizing project.
For example, if you want to organize your home office, you don’t have to everything at once.
Break down your work into smaller tasks as in the following:
- Organize the stack of papers on my desk.
- Organize the office supplies in my pull-out desk drawer.
- Organize the books in the bookcase near the window.
Remember, there’s no law that says you have to organize large numbers of items or rooms in one sitting or session.
This isn’t a reality TV show; this is real life. You can start small and take your time.
Some points to consider when identifying a collection of items to organize:
Get as specific as possible.
Be super-specific when identifying what it is you’ll be organizing.
If you can’t clearly describe the items you’ll be organizing to another person, you’ll need to revise your approach.
Think about the best bang for your buck.
If you’re going to spend your time organizing items, you might as well spend it organizing items in an area or location that desperately needs some TLC!
What are some frequently used areas in your home or office that could benefit from some organization?
Start with a small project.
Try starting off with a few small organizing projects.
These gems will give you the motivation and inspiration you need to tackle and finish larger organizing projects.
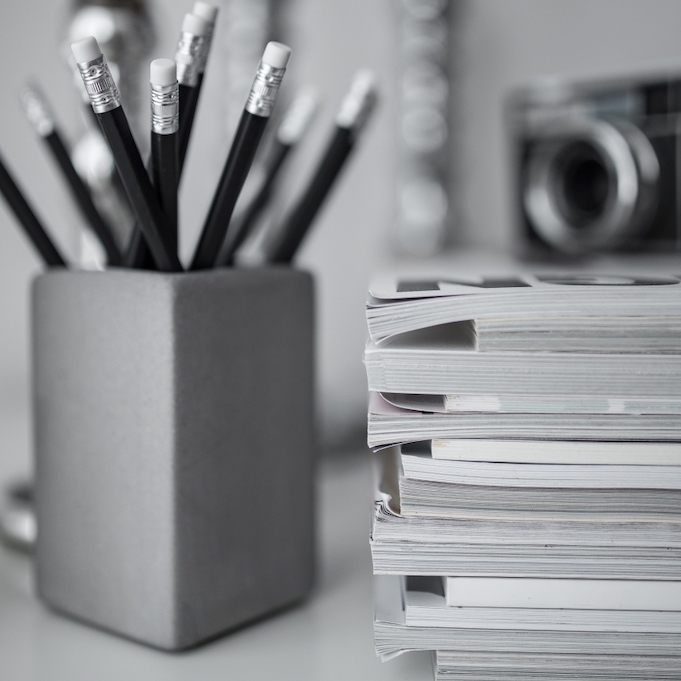
Some example of small projects include organizing a pen cup, wallet, purse, or drawer.
Not only will your work session be quick, but you’ll have an organized space you can enjoy right away.
Sort like items with like items.
The next step in organizing items is to sort like items with like items.
In other words, similar items should be grouped together with similar items.
An easy way to begin the sorting process is to sort items broadly, and then continue to work your way down to a more narrow or fine sort.
When you go about sorting items for the first time, you’ll be working at the most general and basic level of them all: which items to keep, and which items to toss.
Let’s take a further look at these two categories:
Items to keep. These are items you’ve decided to keep in your possession. You’ll use, enjoy, refer to, or admire these items at some point in the future. These can be brand-new, gently used, or used items. The key here is that you consciously choose to keep these items in your home or office.
Items to toss. These are items for which you have no need, interest, or desire to keep in your possession. They can include perfectly new or unused items, or items that are damaged, broken, chipped, stained, torn, soiled, outdated, expired, or unusable, in one way or another. Depending on the condition of the items in question, they can be either donated, recycled, or trashed.
This sorting step should go relatively quickly.
You’re decluttering and going through your belongings to make sure you only have the items you want to keep in your home or office.
Once you’ve identified which items you’re going to keep, and which to toss, you can move on to the next round of sorting.
This next round of sorting is all about grouping similar types of items together.
The idea here is to find items that are broadly similar to one another. What are some examples of these types of items?
How about…
- Clothes with clothes
- Office supplies with office supplies
- Books with books
- Kitchen utensils with kitchen utensils
- Bath products with bath products
See how easy that was? You don’t have to overthink the process or complicate things.
Just sort items with those items that are similar in shape or form.
Once you’ve broadly sorted items, you can take things a step further by organizing these items once again.
This final level of sorting makes it easy to find what you need when you need it.
The idea here is to organize smaller collections of items with one another.
What are some examples of these types of items? How about…
- T-shirts with t-shirts
- Blouses with blouses
- Paperclips with paperclips
- Pens with pens
- Non-fiction books with non-fiction books
- Fiction books with fiction books
- Hair care products with hair care products
- Body care products with body care products
That’s really simple, huh?
And in case you’re wondering, there are hundreds, if not thousands, of ways to organize items together.
It all depends on your personal preferences and how you’re going to use items in future.
But, you can’t go wrong organizing items by type.
Some points to consider when sorting like items with like items:
Have a clear space to sort items.
You want to be able to clearly see what you’re doing.
What’s more, your workspace should have ample room in which you can comfortably maneuver.
Try sorting items on top of a cleared-off counter, table, freshly-made bed, or even a clear area on the floor.
Designate containers for donations, recycling, or trash.
This step makes it easy to dispose of items you no longer want to keep.
If you’d like, you can label each large box or bag, so you can clearly identify everything.
Keep your focus when sorting items.
All you have to remember is like items go with like! Focus on your work and quickly sort through items.
If you need to, turn off the radio, tv, or any other device so you can work distraction-free.
Determine storage solutions for items.
Once you’ve sorted like items with like, the next step is to determine storage solutions and locations for items.
You’ll want to properly contain the items you’ve so carefully sorted so you can find them easily next time.
What’s more, you’ll have a handy place in which to store items in future!
Contrary to popular belief, you don’t have to run out to the store to purchase storage solutions for your needs (you certainly can if you so desire, but this doesn’t have to be your first step).
Chances are you’ve got plenty of storage solutions sitting around your home that can be put to use.
Why not recycle and reuse what you already have before running out and buying something new?
How about doing a scavenger hunt around your space and see if you can find any empty or unused items like the following:
- Coffee tins
- Cardboard boxes with or without lids
- Cookie tins
- Ceramic or earthenware crocks
- Glass jars
- Shoe boxes
- Plastic containers
- Milk crates
- Wicker baskets
- Shallow plastic or metal containers
- Plastic or metal suitcases
And while you’re at it, you may also want to check your home or office to see if you have any of the following common household storage solutions laying about that could be put to use right away:
- Utensil holders
- Magazine racks or holders
- Desk drawer organizers
- Letter holders
- Clothes hangers
- Cereal storage holders
- Electronic storage valets
- Inbox/outbox units
- Shower caddies or hanging units
- Purse organizers
- Over the door shoe organizers
- Under the bed shoe organizers
The last step is to place the items you’ve sorted into these individual containers or bins.
This way, smaller items are safely contained in one location.
Your next move is to select and store the container in a specific location so you’ll be able to find it when you need it.
This could be anywhere, from a drawer, to a cabinet, on top of a desk or counter, or in a closet.
Whatever area you choose, understand that this will be the home of your organized items for the near future.
And what if the items that you’ve organized are fully-contained, as in jars of paint, shirts on hangers, cans of soup, bottles of spices, or office supplies on top of a desk?
Good news, you can carefully arrange these items in a visually pleasing fashion – no organization products required!
Simply arrange items in a neat and orderly fashion.
How to Organize: Next Steps
So you’ve gone through all of the above steps and have organized your things. Congratulations!
Before you rest on your laurels, you have to understand one very important point…
Your organization work has just begun.
Say, what? This might be difficult to grasp at first, but the above statement is the cold-hard truth.
Yes, you’ve spent a good amount of time organizing items.
But the reality is that sometime soon you’re going to interact with your belongings. And this is where the real organization work begins.
Sure, you’ve set up a great foundation for yourself, but you have to practice regular upkeep to keep things looking neat and tidy.
Some points to keep in mind to keep things organized:
Put items back where they belong.
Preferably, you should return an item back to its storage location as soon as you are finished using it.
If you’re pressed for time, make a note for yourself to tidy things up later.
Just be sure to keep your date and put those items back where they belong.
Likewise, if you should see something out of place in your home as you’re moving from one room to another, put it back where it belongs right away.
Don’t overthink the process: just do it!
Create a limit on items in zones/tipping point situation in your head.
This is where you create a limit for the amount of disorganization you’ll tolerate for a specific area.
Once things go over this threshold, you know things are too out of control and you’ll need to reorganize things once again.
You can do this for troublesome areas, such as your office desk, or kitchen counter.
When things get too disorderly, you know it’s time to put things back in order.
Decide where you will focus your organizing energies.
It’s important to understand that it takes time to organize items.
There’s only 24 hours in a day, so choose your organizing battles wisely!
Focus your energies on maintaining areas of the home or office that seem to be magnets for disorganization or clutter.
You’ll be better off in the long run if you work on keeping these spaces clear and organized most of the time, rather than trying to do everything all of the time.
How about you? Which of these tips did you find to be the most helpful? What steps are you going to take to organize your home or office? Join the conversation and leave a comment below!


0 Comments