Are you wondering how to create an organized desktop on your computer?
Do you want some tips to help you put and keep things in order?
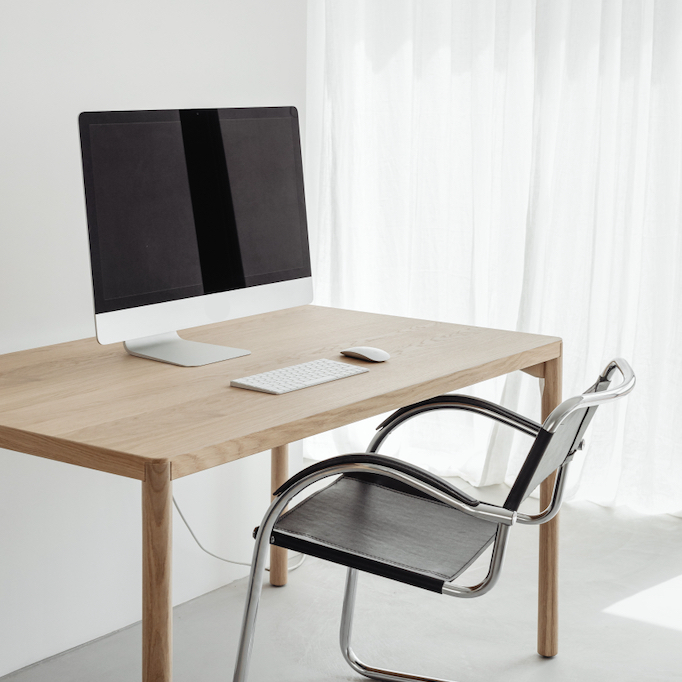
It’s no secret workspaces can help or hinder your ability to get things done.
A well-organized office allows workers to locate materials with ease and safely perform their duties.
But one area that’s frequently overlooked in the name of office organization is the humble computer desktop.
Taking the time to organize your desktop has many benefits.
An organized desktop can help reduce feelings of being overwhelmed and help you work more efficiently on a day-to-day basis.
What’s more, an organized desktop is a low-cost way to make your daily workspace look more polished and professional.
Here are five strategies to help you keep your digital desktop clean and clutter-free.
Understand the source of feeling overwhelmed.
Identifying the cause of desktop stress is an important part of finding practical solutions.
Once you determine what’s causing you stress, you can take specific steps to deal with the problem.
For instance, let’s say you feel overwhelmed when you view a cluttered desktop filled with random documents.
You become distracted and unable to focus on your work. In this case, you would make decluttering the desktop a priority.
Perhaps you have several neat, yet improperly filed folders. You’re constantly reminded of the lack of disorganization. In this situation, you would prioritize reorganizing your files.
Get to the source of your overwhelm by asking yourself what’s causing you the most stress, frustration, or annoyance. Your answers will guide you toward what you need to address.
Accurately label files and folders.
Practicality always trumps creativity when it comes to labeling files and folders.
Avoid saving documents with vague, obscure, auto-generated, or complicated names.
Instead, label files and folders based on their retrieval. You want to quickly locate items when you need them with little to no effort.
Be as concise as possible in your labeling. Clearly state the file name, client, customer, product, and date, as necessary.
If you cannot identify the contents of the file in a few seconds, then you may want to rethink your labeling approach.
Create a standardized filing system.
If you haven’t yet done so, you may want to create a dedicated naming convention for your files.
Begin by conducting a general survey of existing documents, materials, and items.
Jot down a few possible methods of naming items for different files.
Client files may include the full corporate name or last and full name, while document files may include the name of the document along with the version number and date.
Once you create your naming convention, stick to it. This will allow you to easily name and locate past, current, and future files and folders.
Drop the mindless drag-and-drop habit.
You must file digital documents and items anyway, so why not file items in the correct place the first time?
Get in the habit of appropriately filing items on your computer as soon as they come your way. You’ll save your future self a ton of wasted time, energy, and headaches.
Affix a physical sticky note to your monitor or create a digital sticky note to remind you to do so.
You can also disrupt the existing habit whenever you feel yourself dragging an item over the desktop by saying aloud, “I’m filing this to the appropriate folder.”
And if you notice items piling up on your desktop, set a timer on your smartphone for five minutes and take a moment to tidy things up.
Treat your desktop like a physical desktop.
Just because you can’t physically touch the items sitting on your computer desktop doesn’t mean they should be treated with less respect.
Take care to maintain your computer’s desktop area just as if it were a real, live, physical desktop.
File any loose or errant documents, items, and materials at the beginning or the end of the workday.
Keep current and active materials well-organized, appropriately filed, and within easy reach.
Close and archive project and client folders when you’re finished using them.
Review items carefully and decide whether you need to keep materials or place them in the trash.
This post originally appeared on Inc.com.
How about you? Which of the above tips will you follow to organize your desktop? Join the conversation and leave a comment below!


0 Comments