Are you looking for a step-by-step way to create a reference binder at work or home?
Do you refer to a regular set of documents or papers on a daily basis?
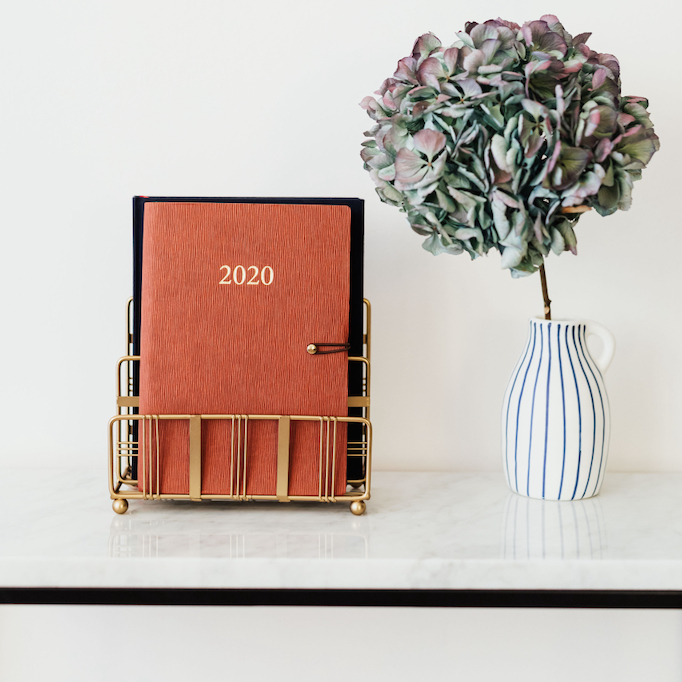
A reference binder makes it easy to organize and store information.
While technology plays a big part in today’s workaday work, sometimes it is easier to refer to a hardcopy document or set of instructions.
In this post, you’ll learn how to easily create a reference binder for various documents, files, and materials.
Choose a reference headache.
Now’s the time to think about all those bits of information you need or refer to on a regular basis.
These are the helpful bits of info you need in your daily work, yet you can never seem to get a grip on them.
For instance, do you constantly look for client codes at work?
Do you refer to instruction manuals for your new kitchen appliances?
Perhaps you’re already reaching for a set of project flow charts and timelines?
Begin by taking a look at items on desks, counters, bulletin boards, and the like for inspiration.
What do you refer to on a regular basis?
Stumped as to what type of reference binder you could create for yourself?
Here’s some examples to get you started. You could create a reference binder for:
- Contracts
- Proposals
- Timelines
- Instruction manuals for appliances
- Recipes
- Important personal documents
- Takeout menus
- Anything you regularly refer to on a constant basis
- …and so on and so forth
Round up binder materials.
The next step is to check your office supplies for necessary binder materials.
Now, you might already have many of these materials on hand at home.
If not, a quick trip to the office supply store or online order can quickly take of your needs.
At the very least you’ll need: a large three-ring binder (choose whatever size you need) and plastic binder sleeves (the ones where you can drop in papers).
You can include binder index tabs and dividers if you so desire.
Don’t forget to gather up all the various papers, documents, manuals you want to store in the binder.
Make an organization plan.
There’s no wrong way to organize a reference binder, but it does help to sketch out how you’ll store items.
You may choose to alphabetize items, store items by category, or group items by usage.
You can place the most important documents up front and center, with the least referred to documents in the back.
When it comes to storing your binder, be sure to create a special home for it where you’ll always know where to find it.
If you’re going to share the binder with other people, let them know where it can be found in your office or home.
Remind others to please return the binder back to it’s proper storage location when they are finished using it.
How about you? What items would you finally like to round-up and have conveniently corralled for reference? Join the conversation and leave a comment below!


Thanks for these really concrete and informative posts. Love when it is simple yet so practical.
Thx!
Richelle
You’re quite welcome Richelle. There’s just something wonderful about simplicity… Thanks for stopping by the blog and for your comment!
This is a great idea for closet storage as well as
attic, basement, and garage!
Yes, that is so true. How convenient it would be to have a master instruction manual for tools/equipment in the basement or garage!